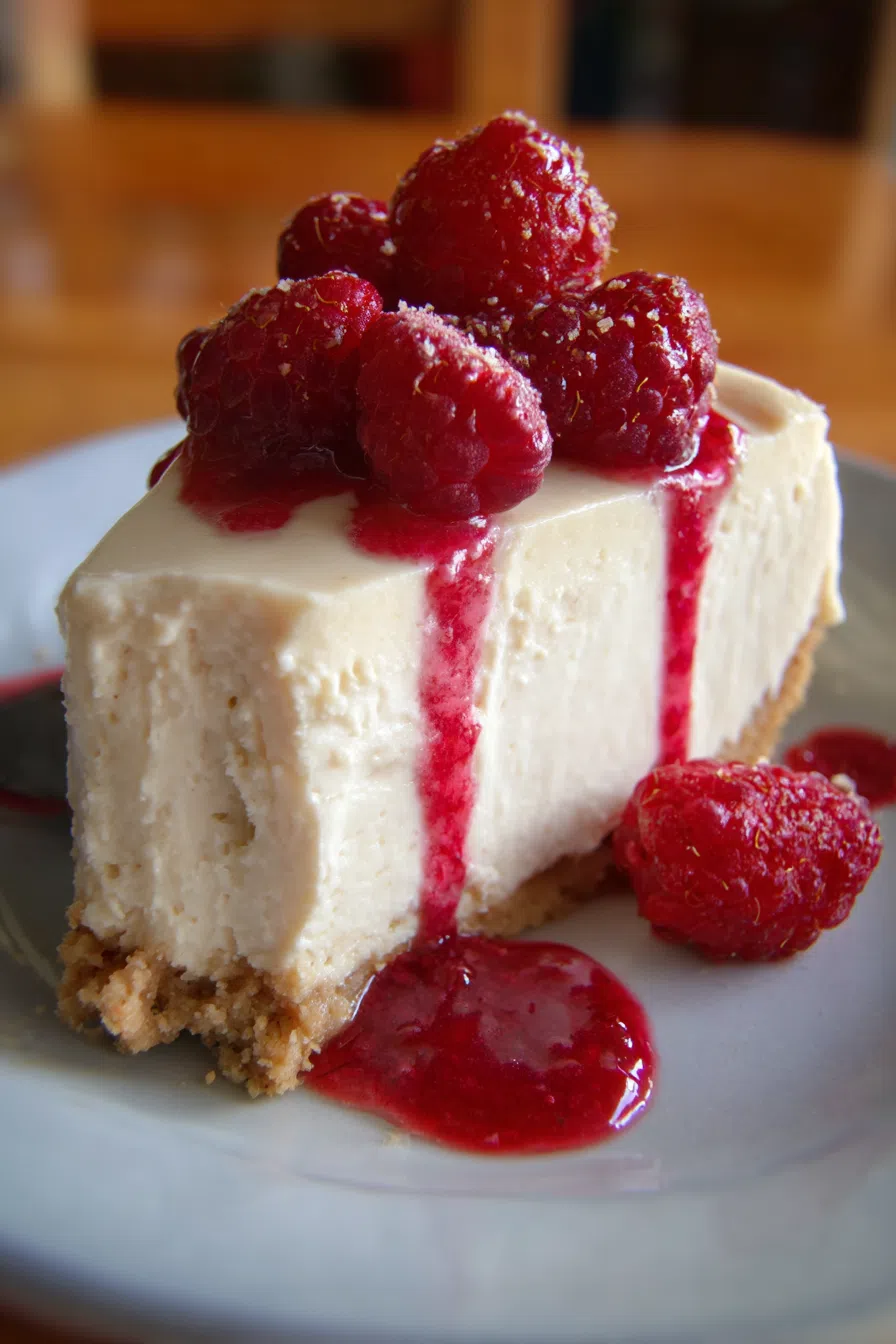
High Protein Cheesecake (Creamy & Macro Friendly)
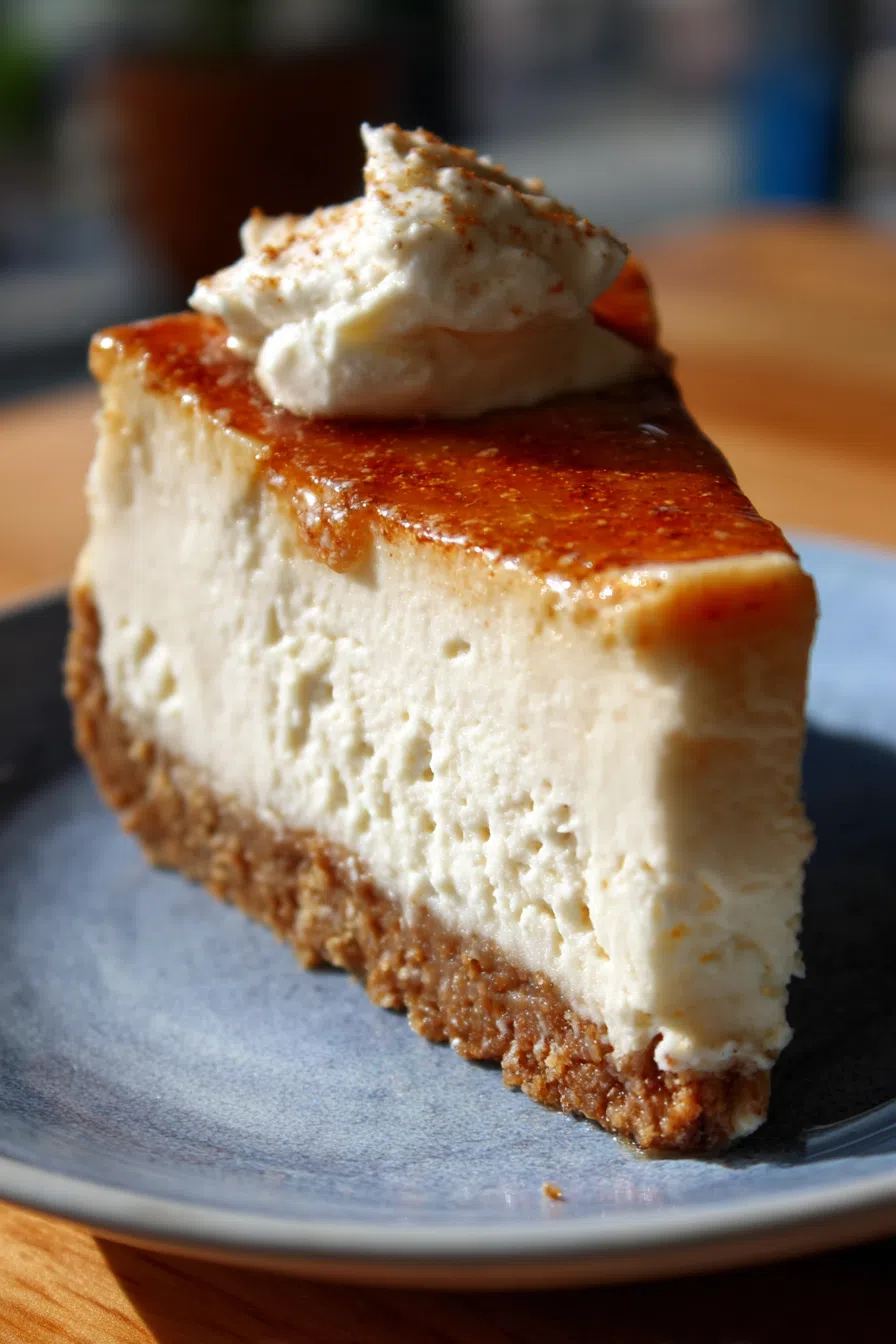
The moment I took my first bite of this High Protein Cheesecake, I knew it was something special – the creamy texture, the perfect balance of sweetness, and that delightful graham cracker crust.
I remember making this cheesecake on a lazy Sunday afternoon, with my kids helping me mix the ingredients in our cozy kitchen, the aroma of melted butter and sugar filling the air.
It was during a family gathering that this High Protein Cheesecake (Creamy & Macro Friendly) quickly became a cherished family favorite.
Why You’ll Love This High Protein Cheesecake (Creamy & Macro Friendly)
- The creamy texture will make you swoon.
- With a perfect balance of sweet and tangy, the flavor profile is amazing.
- It takes only 45 minutes to prep.
- This recipe is foolproof, even for beginners.
- It’s perfect for any occasion, from family gatherings to potlucks.
Ingredients You’ll Need
- 1 1/2 cups almond flour
- 1/2 cup granulated sweetener
- 1/4 cup protein powder
- 1/2 cup unsalted butter, softened
- 12 ounces cream cheese, softened
- 2 large eggs
- 1 teaspoon vanilla extract
- 1 cup plain Greek yogurt
- 1 cup heavy cream
- 1/2 cup unsweetened almond milk
- 1/4 cup chopped walnuts (optional)
The star ingredients of this cheesecake are undoubtedly the cream cheese, which provides that rich and creamy texture, and the Greek yogurt, which adds a tangy flavor and extra protein.
Expert Tips for the Best High Protein Cheesecake (Creamy & Macro Friendly)
- Make sure to beat the cream cheese until it’s smooth.
- A common mistake is overmixing the batter, so stop mixing once the ingredients are combined.
- Add a teaspoon of lemon zest for an extra burst of flavor.
- The cheesecake is done when the edges are set and the center is slightly jiggly.
- You can make this cheesecake a day ahead of time and store it in the fridge overnight.
Variations and Substitutions
For a gluten-free crust, use gluten-free graham cracker crumbs. For a different protein source, swap the vanilla protein powder with almond protein powder. Add a teaspoon of cinnamon for a warm and spicy twist.
How to Store and Reheat
This cheesecake will keep in the fridge for up to 5 days, stored in an airtight container. To reheat, let it come to room temperature or warm it up in the microwave for 10-15 seconds. You can also freeze it for up to 2 months and thaw it in the fridge overnight.
Frequently Asked Questions
Can I use a water bath?
Yes, a water bath can help prevent cracking and ensure even cooking.
How do I prevent cracking?
To prevent cracking, make sure the cheesecake cools slowly and evenly.
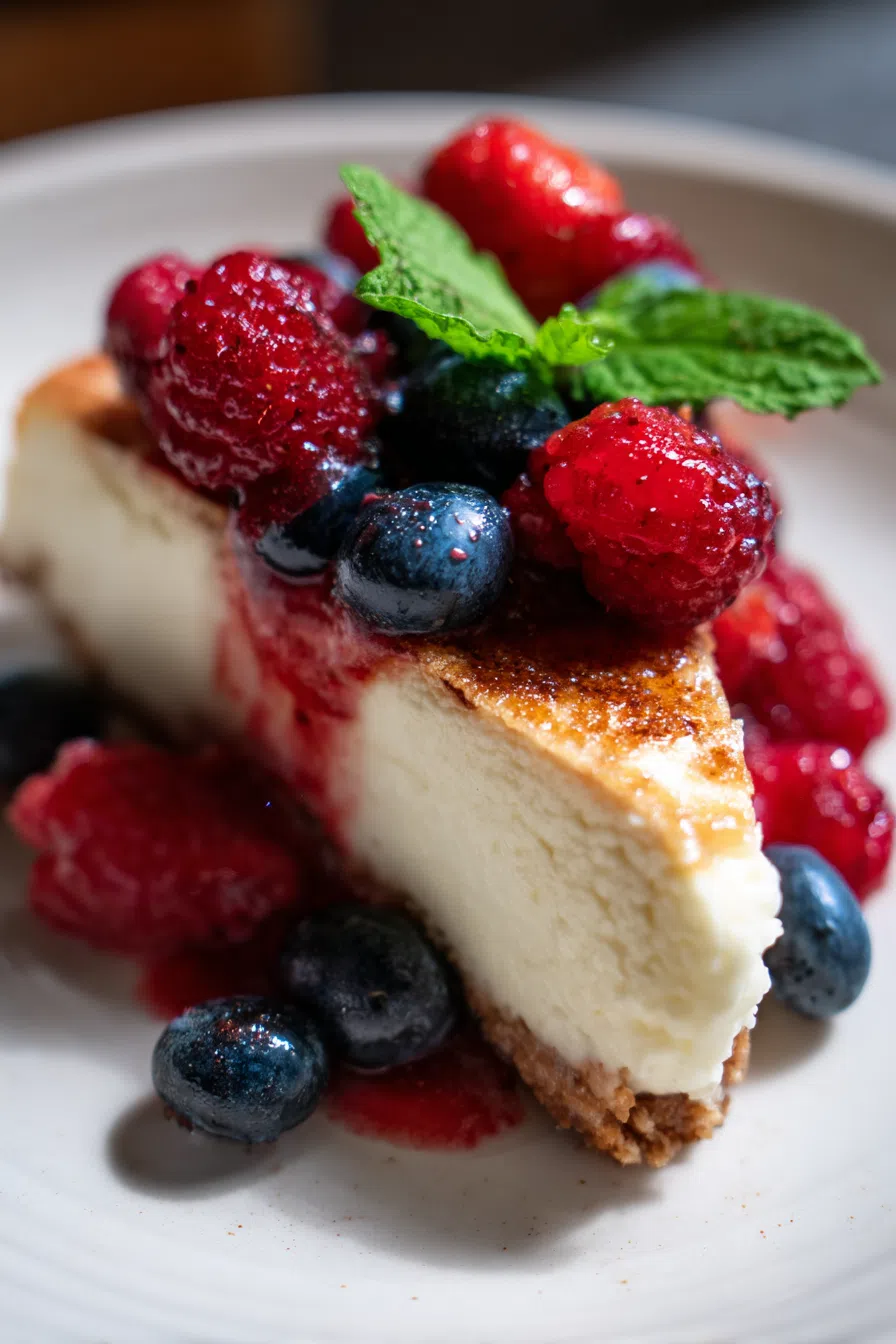
Can I serve it with toppings?
Yes, you can top it with fresh fruit, caramel sauce, or whipped cream.
I hope you love this High Protein Cheesecake (Creamy & Macro Friendly) as much as we do – it’s a game-changer for anyone looking for a delicious and healthy dessert option. Give it a try and let me know what you think!
Protein Cheesecake
🧂 Ingredients
👩🍳 Instructions
-
1Preheat oven to 350°F (180°C).
-
2Prepare a 9-inch springform pan with parchment paper.
-
3Mix almond flour, sweetener, and protein powder in a bowl.
-
4Add softened butter and mix until combined.
-
5In a separate bowl, mix cream cheese and eggs.
-
6Add vanilla extract and mix until combined.
-
7Add Greek yogurt, heavy cream, and almond milk.
-
8Mix until smooth.
-
9Pour the cheesecake batter into the prepared pan.
-
10Bake for 40 minutes or until the edges are set.
-
11Let it cool completely on a wire rack.
-
12Chill in the refrigerator for at least 4 hours.
-
13Release the springform pan sides and slice.